Quality Control, Described Step by Step
"Checked" should mean something specific. These are the checkpoints a case passes through between prescription and dispatch.
-
Case instruction review
The prescription, material specification, shade and bite records are read against the case files before design starts. Missing or conflicting instructions raise a question, not an assumption.
-
Design review
Margins, contacts, occlusion, preparation space and material-specific thickness are reviewed in the CAD file. Implant cases additionally verify system, connection and scan body data.
-
Production checks
Fit and seating are checked on dies or printed models; contacts and occlusion against the provided records; material thickness against the selected indication.
-
Final inspection
Surface condition, shade and characterization are inspected before packing, and the delivery note records what was checked.
-
Remake and adjustment loop
Remake requests are reviewed against the original prescription and the recorded checkpoints, so both sides can see what changed.
What the Checks Are Actually Done With
A quality claim is only as good as the tools behind it. These are the stages a case passes through on our production floor, and what each stage is physically checked against.
| Stage | What happens | How the output is checked |
|---|---|---|
| Scan and file intake | Incoming scans, impressions and prescriptions are logged against a case reference. | Margin visibility, scan completeness, occlusal clearance and implant component match are checked in the design software before design starts. |
| CAD design | The restoration is designed to the prescription and any standing customer instructions. | Margin placement, contact strength, occlusal scheme and minimum material thickness are reviewed in the design file; implant cases verify the library component used. |
| Milling and printing | Zirconia and other millable units are milled in-house; models and some appliance components are printed in-house. | Milled units are checked for surface defects, chipping and dimensional fit on the die or printed model before finishing. |
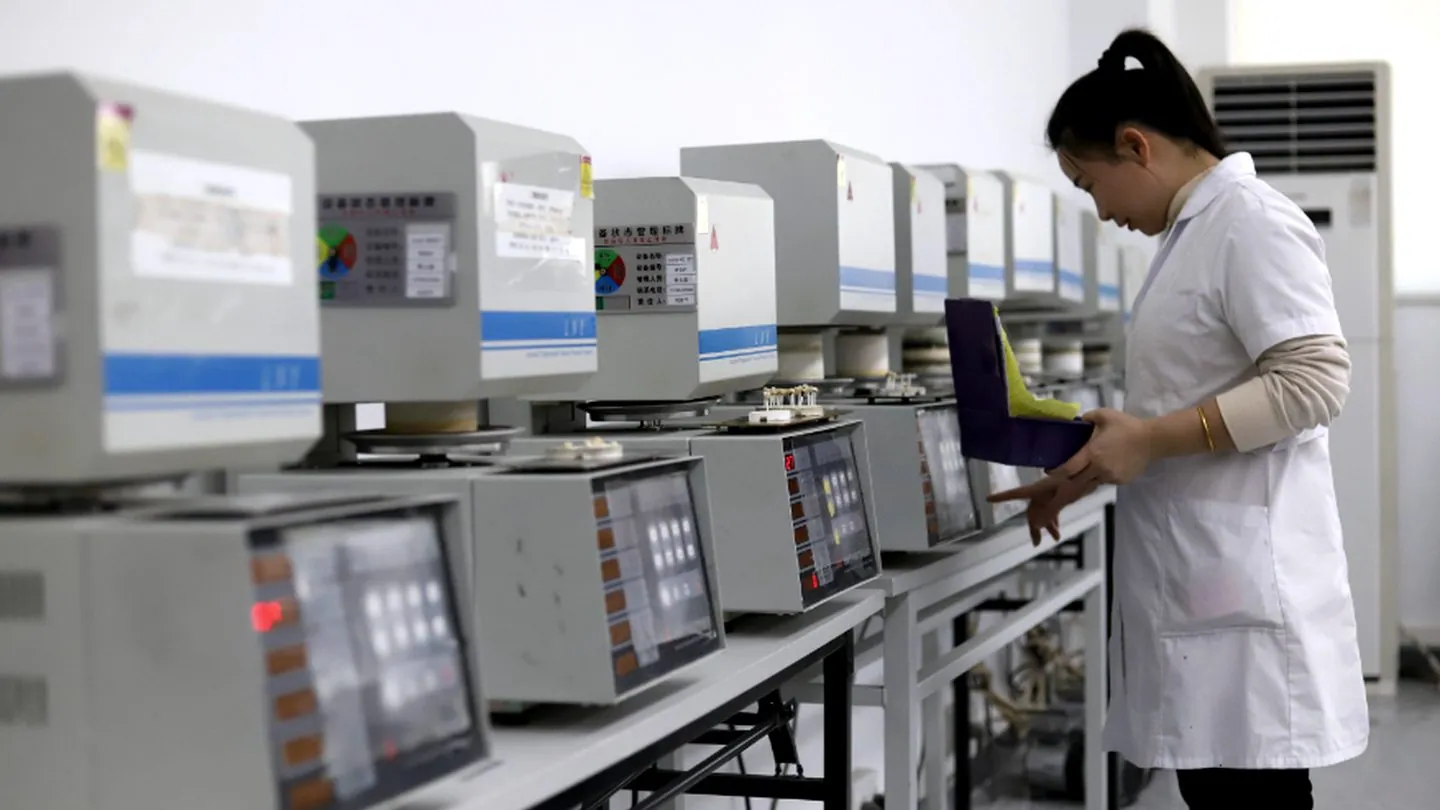
| Sintering | Zirconia is sintered under a controlled programme in our own furnaces. | Shade and density are assessed after sintering against the prescribed shade system, before layering or characterisation. |
| Ceramic work and finishing | Layering, staining and surface characterisation are applied where the restoration type requires it. | Fit, contacts, occlusion and shade are compared against the case records; surface finish is checked against the intended texture. |
| Final inspection and packing | The finished restoration is inspected and packed with its case documentation. | A QC reviewer who did not produce the unit signs off seating, contacts, occlusion, shade and surface condition — and records what was checked. |
The point of publishing this is so that "we check quality" means something specific. If you want to know how a particular restoration type is checked, ask and it will be described for that product — see the quality control process guide for the same steps written out for a laboratory audience.
Documentation for materials and processes is available upon request, subject to product type and destination-market requirements. We do not publish certification or capacity claims we cannot document.
A Look Inside the Production Floor
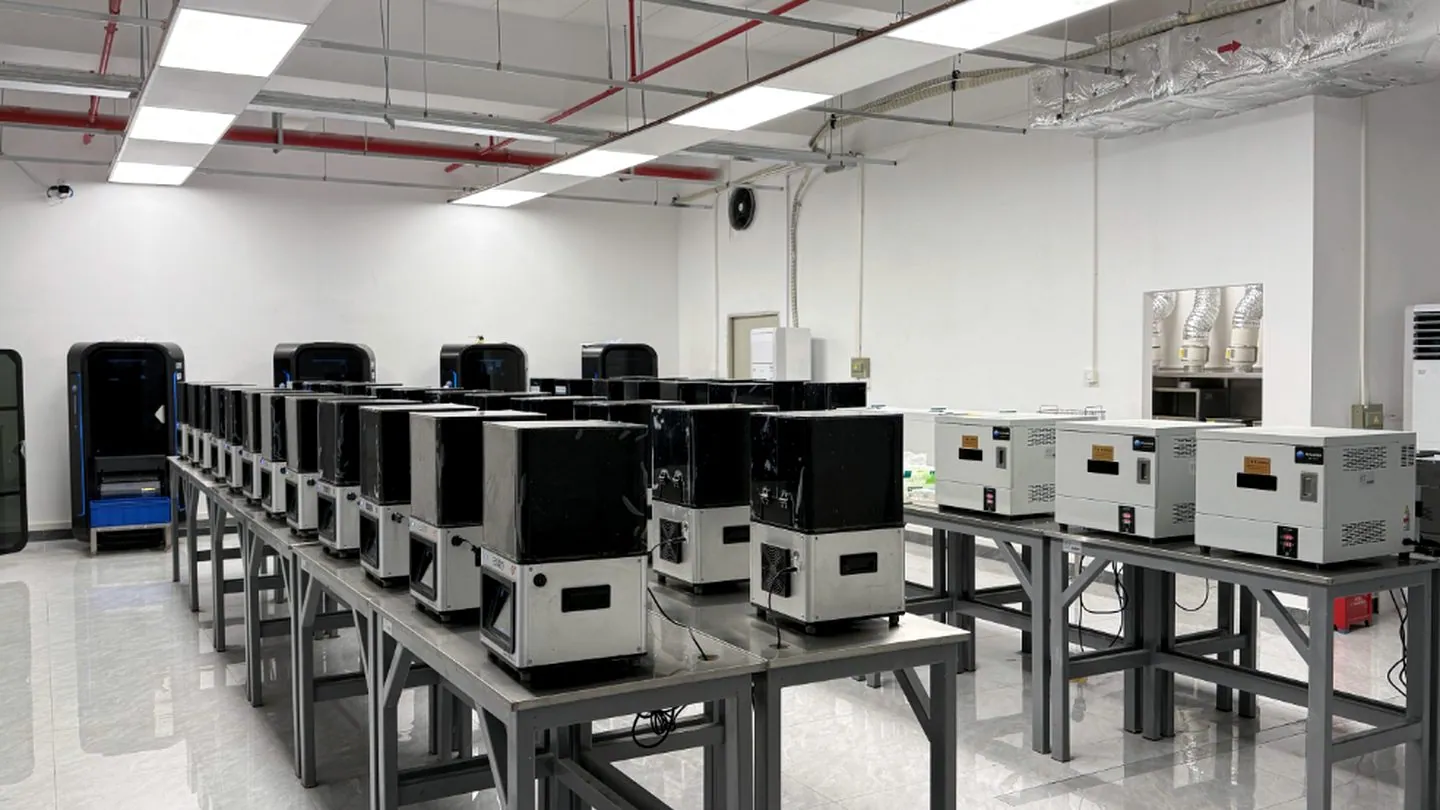
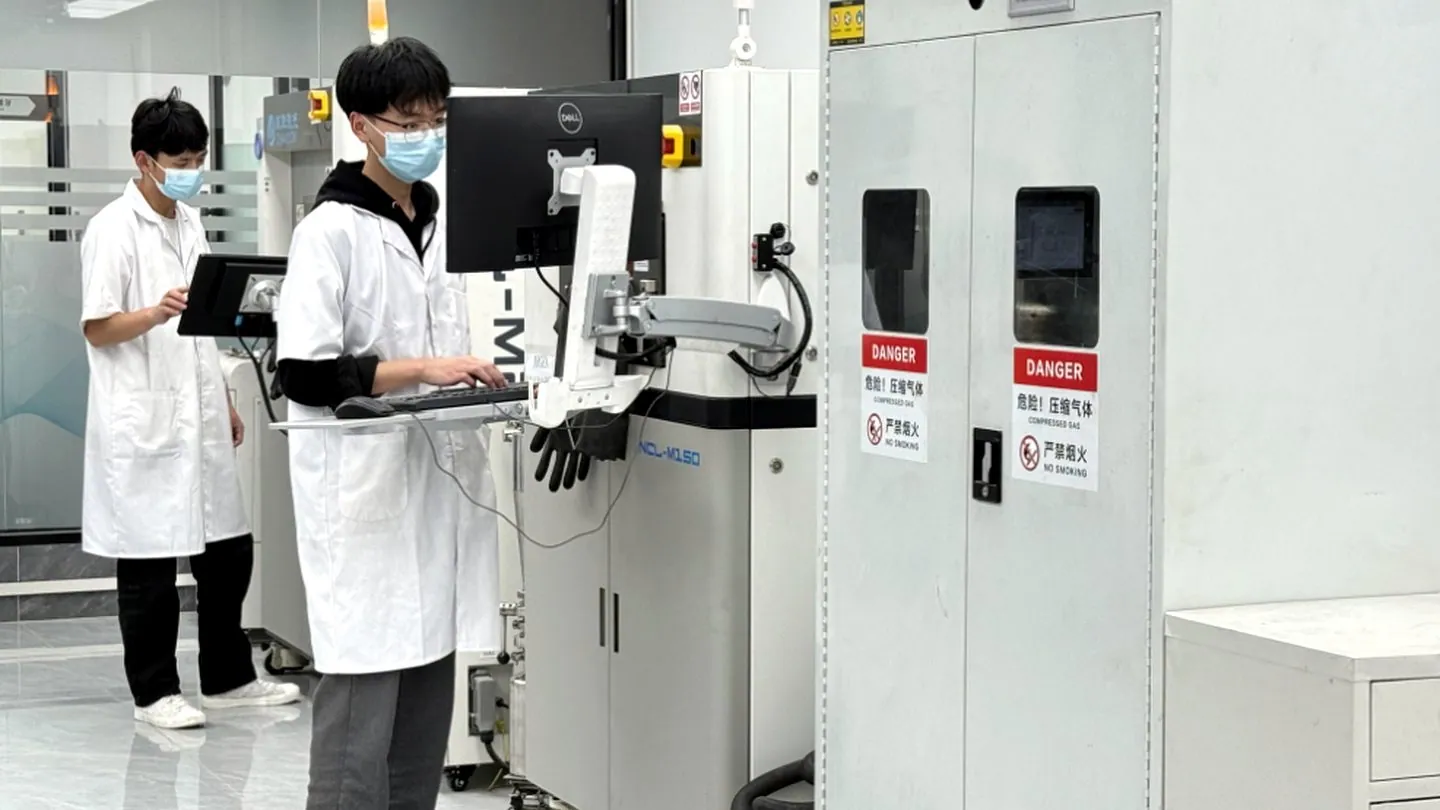
Our own milling, printing and sintering equipment supports the case workflow end to end, so quality checks can be applied at each stage.