
Clinical preparation
Zirconia Crown Preparation: Reduction, Margins and Occlusal Clearance
Zirconia needs enough reduction and a clean finish line. This guide covers the preparation targets and the records that let a lab confirm them before production.
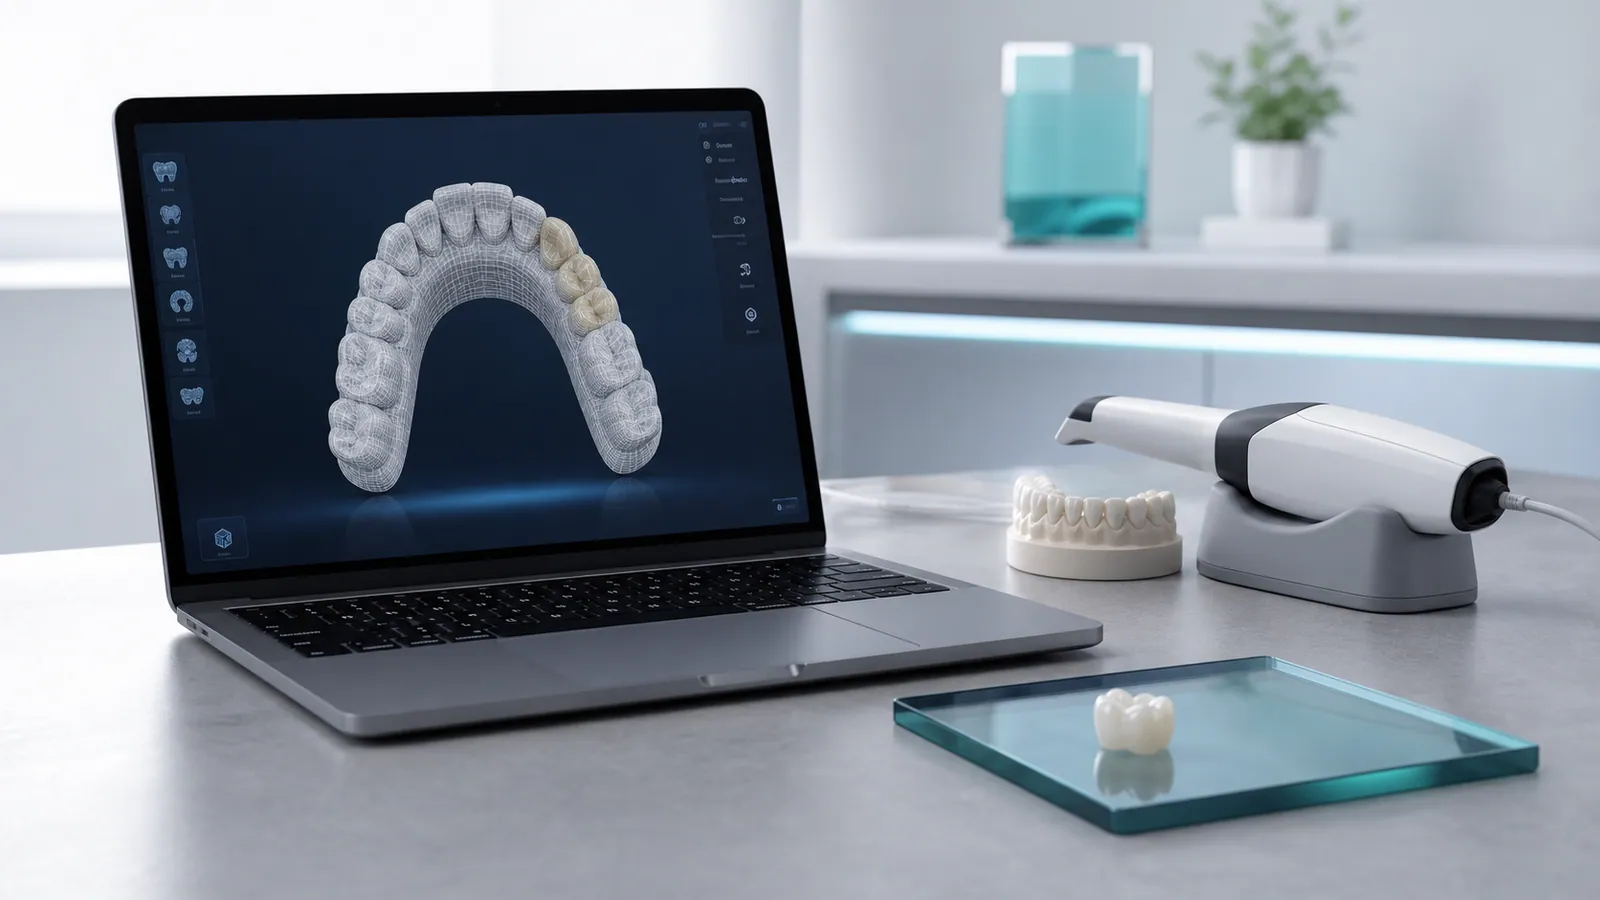
A predictable zirconia crown preparation starts with enough reduction and a finish line the lab can actually capture. Zirconia is strong, but it is also opaque enough that an under-reduced prep leaves the lab choosing between a thin, weak wall and an over-contoured crown that throws off the bite. The preparation targets are not exotic: they are the same principles good crown prep has always followed, applied with enough clearance for an all-ceramic wall. A clean margin and an honest reduction note save more remakes than any finishing trick.
This guide covers occlusal and axial reduction, margin choice, finish-line quality and the records a lab needs to verify the design. For the product scope, see zirconia crowns; for bridge cases, see crown and bridge.
Why reduction targets matter
Zirconia needs a minimum wall thickness to avoid chipping and to seat without strain. A sound zirconia crown preparation leaves the lab a clear wall to design against and a margin it can seat without strain. If the prep is shallow, the lab must either thin the crown below a safe wall or build outside the prep, and both options cause problems later. Reduction targets exist to protect the restoration, not to make the prep harder. Recording the actual clearance you achieved lets the lab confirm the design stays inside safe limits instead of estimating from the scan alone. The targets also keep the occlusal anatomy natural, because even reduction preserves cusp form better than a flat cut.
Occlusal reduction
Aim for roughly 1.5 to 2.0 mm of occlusal clearance, measured on the functional cusps rather than the flats. The reduction should follow the occlusal anatomy so the crown keeps a natural cusp form instead of a flattened table. Under-reduction on the working cusp is the most common reason a zirconia crown returns for adjustment, because the lab cannot build adequate thickness without opening the bite. Check clearance with a probe or reduction gauge before the final impression or scan.
Axial reduction and taper
Keep axial walls reduced about 1.0 to 1.5 mm with a total taper in the range of 6 to 10 degrees, enough for the crown to seat yet tight enough to retain. Over-tapered preps lose retention and shift the load to the cement, while under-tapered preps bind and never fully seat. A consistent axial reduction also gives the lab a readable wall to design against, which matters more for fit than the exact taper number. Rounded line angles reduce stress concentration in the ceramic.
Margin types
A well-defined margin is more important than which margin you choose. A chamfer or a rounded shoulder both work for zirconia; the key is a continuous, identifiable finish line with enough facial clearance for the wall. A sharp shoulder supports a clean margin but needs more reduction, while a chamfer conserves tooth structure and is easier to scan. Knife-edge margins are weak in zirconia and should be avoided. Pick one margin and keep it uniform around the tooth so the lab does not have to infer transitions.
Finish line quality and scanability
The finish line must be clean, with no gouges, no unsupported enamel, and no bleeding or debris obscuring the scan. A readable margin is what lets the digital design seat correctly; an unclear line forces the lab to guess the seating depth, and a wrong guess shows up as an open or over-tight margin. If you scan, dry the sulcus gently and capture the line in one continuous pass. If you impression, a firm margin capture beats a fast but smeared one.
Undercuts and draw path
Zirconia crowns are milled from a block, so the prep needs a clear draw path without undercuts that would lock the restoration or force a sectioned design. Supragingival or equigingival margins with a straight draw are easiest to seat and verify. If a margin drops subgingivally, keep it short and even so the lab can read it and the crown can still draw. Note any subgingival extent on the prescription so the design accounts for it rather than discovering it at try-in.
Records the lab needs
Send the scan or impression with clear margins, the written prescription (tooth number, material, shade with stump shade, margin type), and occlusal or contact instructions or a confirmed bite record. A shade photograph under neutral light next to the target tooth prevents most mismatches. State any parafunction and the opposing dentition so the lab can check contacts during design. If the case moves through the digital workflow, the same records apply and the scan file should carry the case identifier.
When to re-prepare rather than re-design
If the margin is unclear, the reduction is short, or an undercut blocks draw, the right move is usually to re-prepare rather than ask the lab to redesign around a flawed prep. A redesign can mask the problem but rarely fixes it, and the crown will still seat poorly or thin out where the prep was shallow. Re-prep once, capture cleanly, and the lab can mill a crown that fits the first time. This is cheaper than a remake that traces back to the same prep.
Next step
Prep with enough occlusal and axial clearance, keep one clean margin type, and send a prescription that states shade, margin and occlusion. To put a case into production, send a case with complete records, or review the zirconia crown dental lab in China process for how preps are verified before milling.