
Quality
Inside a Dental Lab Quality Check: What Is Inspected and How
A step-by-step account of the final inspection a restoration passes through before it is packed — what is checked, with what, and what sends a unit back to production.
Published October 8, 2026
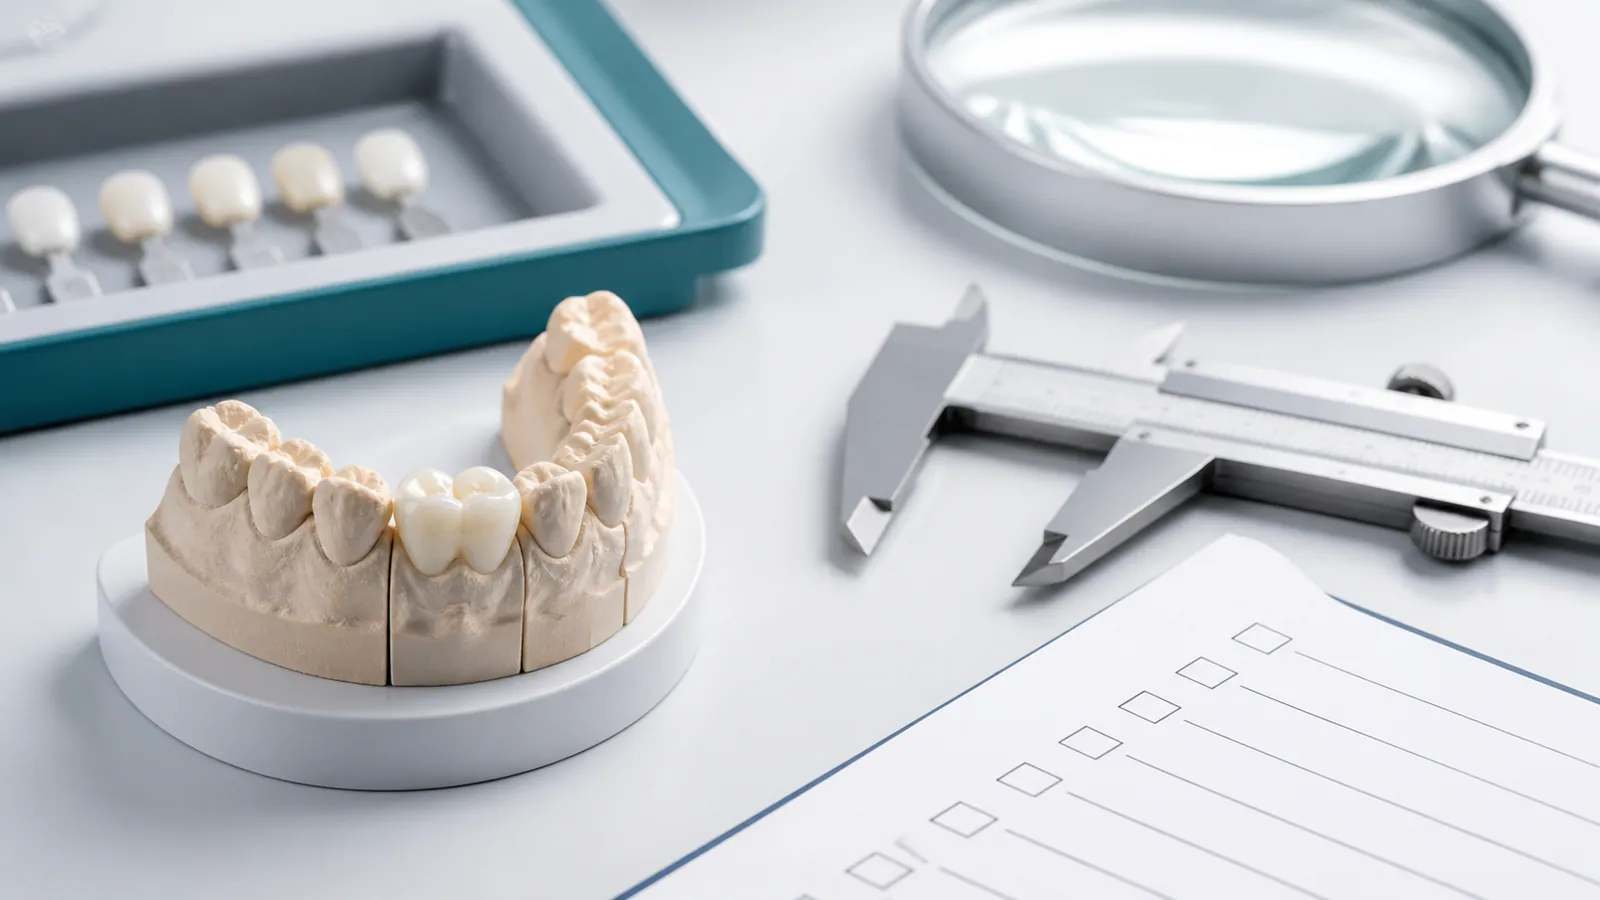
“Quality checked” is one of the most repeated and least explained phrases in dental laboratory marketing. This article is an attempt to unpack it: to describe what a final inspection actually consists of, in the order it happens, with the specific things that are looked for and the specific things that cause a unit to be held back.
It is written from the bench rather than from a brochure, because the useful detail is in the small decisions, not in the assertion that checks are done.
Where the final inspection sits
A final inspection is the last of several checks, not the only one. Much earlier in the workflow, the incoming scan is reviewed, then the design is reviewed, then the milled or printed unit is checked before finishing. The final inspection is the point at which the finished, characterised restoration is assessed as a whole — after all the work is done, before it is packed.
The reason the final inspection cannot replace the earlier ones is that by this stage the options are narrower. A margin problem found now means rework. The same problem found at the design stage means a design change.
The checks, in order
1. Seating on the die or model
The unit is seated on the die or printed model and the margin is examined along its full length under magnification. What is being looked for:
- a continuous, closed margin with no visible gap or ledge;
- uniform seating pressure, with no rocking or high point;
- no binding on proximal surfaces that would prevent full seating.
A margin that is closed on one surface and open on another is a fit problem, not an aesthetic one, and it stops the unit.
2. Proximal contacts
The contact areas against adjacent units are checked with articulating material and, where the model allows, with floss. The check is not “is there a contact” but the character of it:
- too light — the contact will not hold against food and migration;
- correct — floss passes with resistance;
- too tight — the restoration may not seat fully, or may force adjacent teeth.
Contact character is recorded because it is one of the most frequent reasons a clinic reports a problem after delivery.
3. Occlusion
Occlusal contacts are checked against the submitted bite record using articulating paper, in centric and, where the case calls for it, in excursive movements. The unit is assessed for:
- even distribution of contacts across the occlusal surface;
- no premature or high contact that would hold the bite open;
- the intended occlusal scheme, where the case specified one.
A high bite is almost always visible at this check on the model, which is why the model matters even in an era of digital design.
4. Material thickness against the indication
The material is checked at its thinnest functional points against the minimum for the selected restoration type. This is not a cosmetic check — a zirconia unit below its minimum thickness in a load-bearing area is a structural risk. Where the measured thickness is marginal, the case is assessed against the occlusion and the patient’s likely loading rather than passed on a single number.
5. Shade and characterisation
The finished shade is compared against the prescribed shade system. This is a comparison against a physical reference, not a memory. The check covers:
- the body shade, assessed under a consistent light source;
- the incisal and cervical transitions, where the restoration type has them;
- surface characterisation — texture, gloss and any prescribed staining.
Where the prescription included a photographic reference and the finished shade and the photo appear to disagree, the written prescription governs and the discrepancy is noted rather than acted on silently — the reasoning is the same as in what a photo can and cannot tell a lab.
6. Surface finish and cleanliness
The surface is inspected for defects that would affect either function or appearance:
| Defect | Why it stops the unit |
|---|---|
| Porosity or pits | Trap debris, weaken the surface, harbour stain |
| Chipping | Indicates a structural issue beyond the surface |
| Excess or misplaced glaze | Affects the prescribed texture and sheen |
| Contamination or residue | Must be clean before it enters the mouth |
7. Documentation and packing
What was checked is recorded against the case reference, and the unit is packed with that document. The point of the record is not administrative — it is what makes an issue review possible later, because it shows what was found and when.
What sends a unit back
A unit is held back rather than shipped when a check finds a defect that cannot be corrected at the bench. In practice this is a short list: an open or inconsistent margin, a contact outside tolerance, a high occlusal contact that cannot be refined without changing the scheme, thickness below the structural minimum, or a surface defect that cannot be polished out.
Holding a unit back is not a measure of a failing process — it is the process working. The alternative is shipping a unit that fails at the chair, which costs more in every direction: a second appointment, a second shipment and a remake.
Why describe this in detail
Because “we check quality” is unfalsifiable. A buyer cannot tell a thorough inspection from a cursory one, so the phrase has no weight. Describing the specific checks, and the specific conditions that fail them, lets a laboratory customer judge whether the process is real — and gives both sides a shared vocabulary when something does go wrong.
Related reading
- Quality control process — the full sequence from intake to dispatch.
- Material traceability in a dental lab — the material record that sits behind each case.
- Remake and issue review policy — what happens when a delivered restoration is questioned.