
Digital workflow
Digital vs Traditional Dental Impressions: What a Lab Needs
Scans and impressions capture the same tooth, but they reach the laboratory as very different records. This guide compares what each route requires.
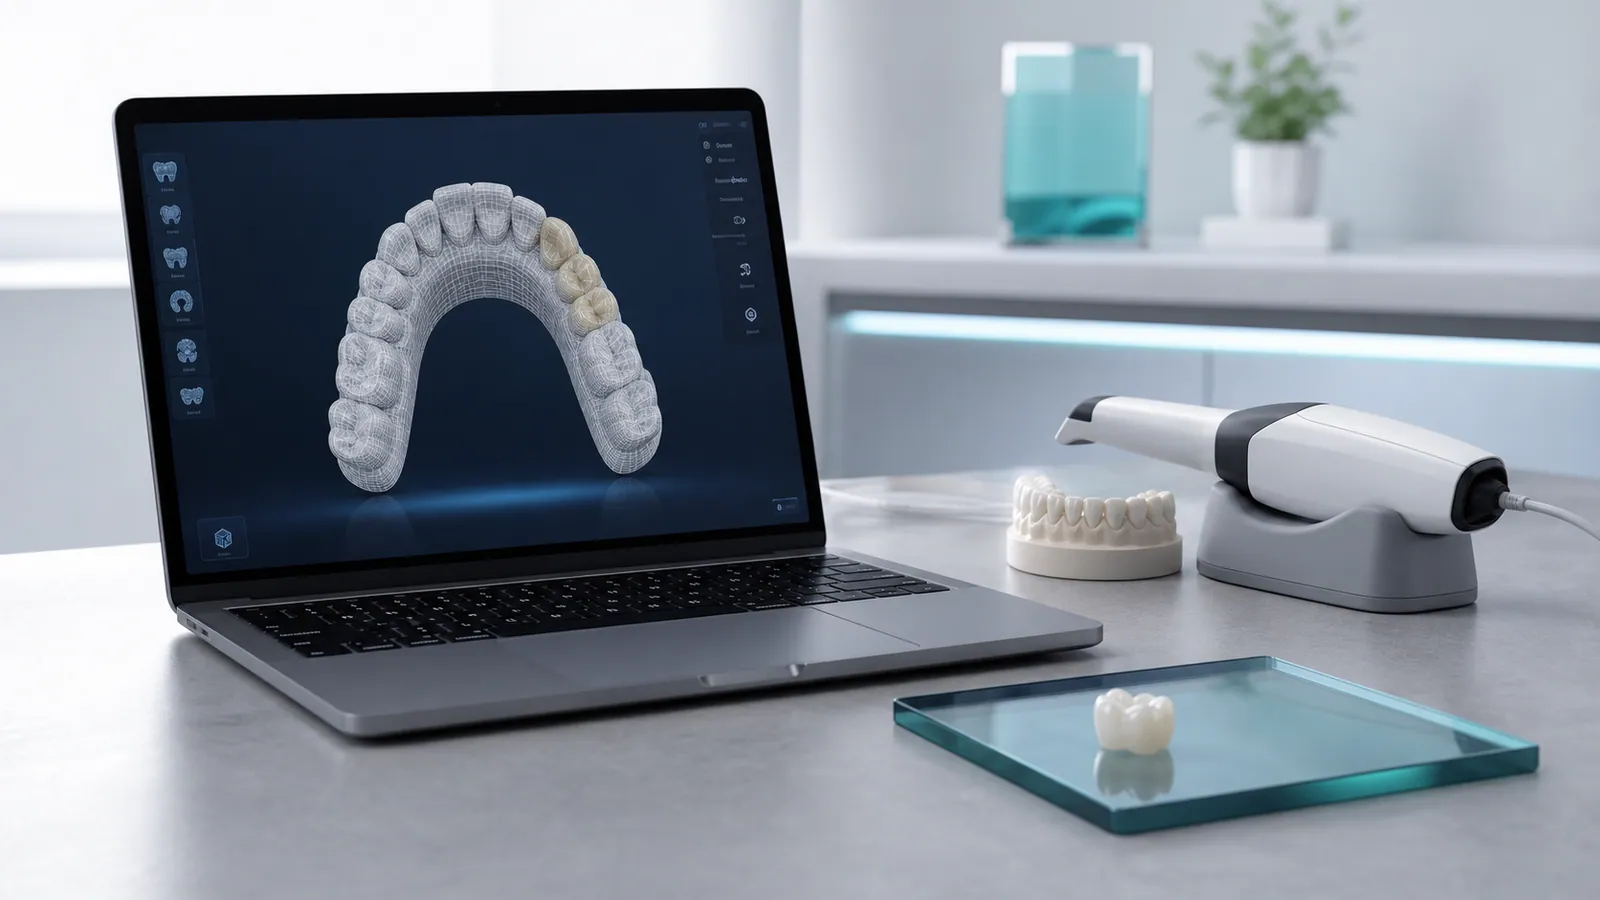
A crown, a bridge or a denture starts with a record of the mouth, and there are two ways to make that record. Digital dental impressions arrive as a scan file, while traditional dental impressions arrive as a physical model or an impression tray. Both can carry the information a laboratory needs, but they carry it differently, and the difference shapes everything from margin readability to how the case travels. This guide compares the two routes and the records that make each one work, alongside the digital workflow the laboratory runs once the case is received.
Two ways to capture a case
An intraoral scanner builds a three-dimensional surface from a series of optical captures and exports a mesh file. A tray impression records the same surfaces in a soft material that is then poured into stone or scanned separately. One route produces a file the clinic can send immediately; the other produces a physical object that has to be packed, shipped and handled. Neither route is inherently more accurate, but each has its own failure modes, and knowing them is what keeps a case predictable.
How each method captures the margins
Margins decide whether a crown seats, so both routes are judged first on how well they record the finish line. A scanner needs a dry, retracted field and a steady pass over the margin; a subgingival or bleeding margin is difficult to capture optically, and the operator often sees a blurred or missing band rather than an obvious error. A tray impression records the margin in negative, so its readability depends on material flow, tray fit and the absence of voids or drags. In practice, the margin is the part most likely to need a second look in either route.
Scan resolution and file handling
A scan exports as mesh data, and the way it is exported matters. Resolution that is too coarse rounds off the margin; an over-decimated or re-meshed file can lose detail that was present in the original capture. The clinic should confirm the export settings and the format before sending, and check that the file opens cleanly rather than relying on the scanner’s on-screen preview. The dental CAD file formats guide covers which formats carry what, and the how to send STL files article walks through exporting and transmitting a case.
Impression materials and tray technique
Physical impressions depend on technique. A stock tray that rocks, a material that sets before it reaches the margin, or a heavy-body and light-body combination used without the right relief will all show up as defects. Two-phase and single-phase materials behave differently under load, and the time between seating and setting is the window in which the record is either captured or lost. A poured model adds a further step where expansion and pouring technique can shift the fit, so an impression that looks sound can still produce a model that is not.
Where physical impressions still fit
There are situations where a physical impression remains the practical choice: a deeply subgingival margin that cannot be kept dry, a full-arch removable case where the functional border needs to be recorded with a material rather than optically, and cases where a specific border molding step is needed. Full denture work often still relies on a physical record for the border extension, even when the tooth-borne parts of the case are scanned. The right route is the one that records the whole case, not the one that is newest.
Common capture problems by method
On the digital side, the recurring problems are a wet field during capture, a scan that stops short of the distal extent, a bite record taken without enough occlusal contact, and a file that was re-exported or compressed after the fact. On the physical side, they are voids at the margin, distortion from a tray that moved, a break in the impression during removal, and a delay before pouring. Most of these are visible at the chair if the record is checked before the patient leaves, which is far easier than discovering them at the laboratory bench.
Records that travel with the case
A record alone is not a case. Both routes need the tooth numbers, the preparation note, the target shade, the material and any specific design instruction. A digital case needs the scan, the opposing arch and the bite in one file set with consistent naming; a physical case needs the impression, the opposing record and the bite registration sent together, protected in transit. Pairing the record with a written prescription is what lets the laboratory interpret it correctly rather than guess at the intent.
Records the laboratory needs before design
Before design begins, the laboratory confirms that the margins are readable, that the opposing and bite records are present and consistent, and that the prepared tooth can be drawn in one path. If any of these is missing, the gap is easier to resolve before the design is committed. For a zirconia crown, for example, the margin and the reduction both have to read clearly, because the design assumes the preparation it was given. A short query at the start is usually faster than a remake later.
Choosing per case type
Single-unit and short-span fixed cases suit a scan well, because the field is accessible and the records are simple. Deeply subgingival margins, full-arch removable work and cases needing border molding often suit a physical record. Mixed cases are common: scan the tooth-borne parts and record the functional border with a material. Stating which route was used, and why, helps the laboratory plan production and makes any follow-up question easier to answer.
Next step
Send the scan or impression together with the opposing record, the bite, the tooth numbers, the shade and the material, and confirm the format if the case is digital. The laboratory will review whether the record supports the design and query anything unclear before production. Send a case to begin.