
Materials and design
Temporary Crown and Bridge Materials Compared
The interim restoration holds the space and the occlusion while the definitive work is made. This guide compares PMMA, printed resin and acrylic and the records each one needs.
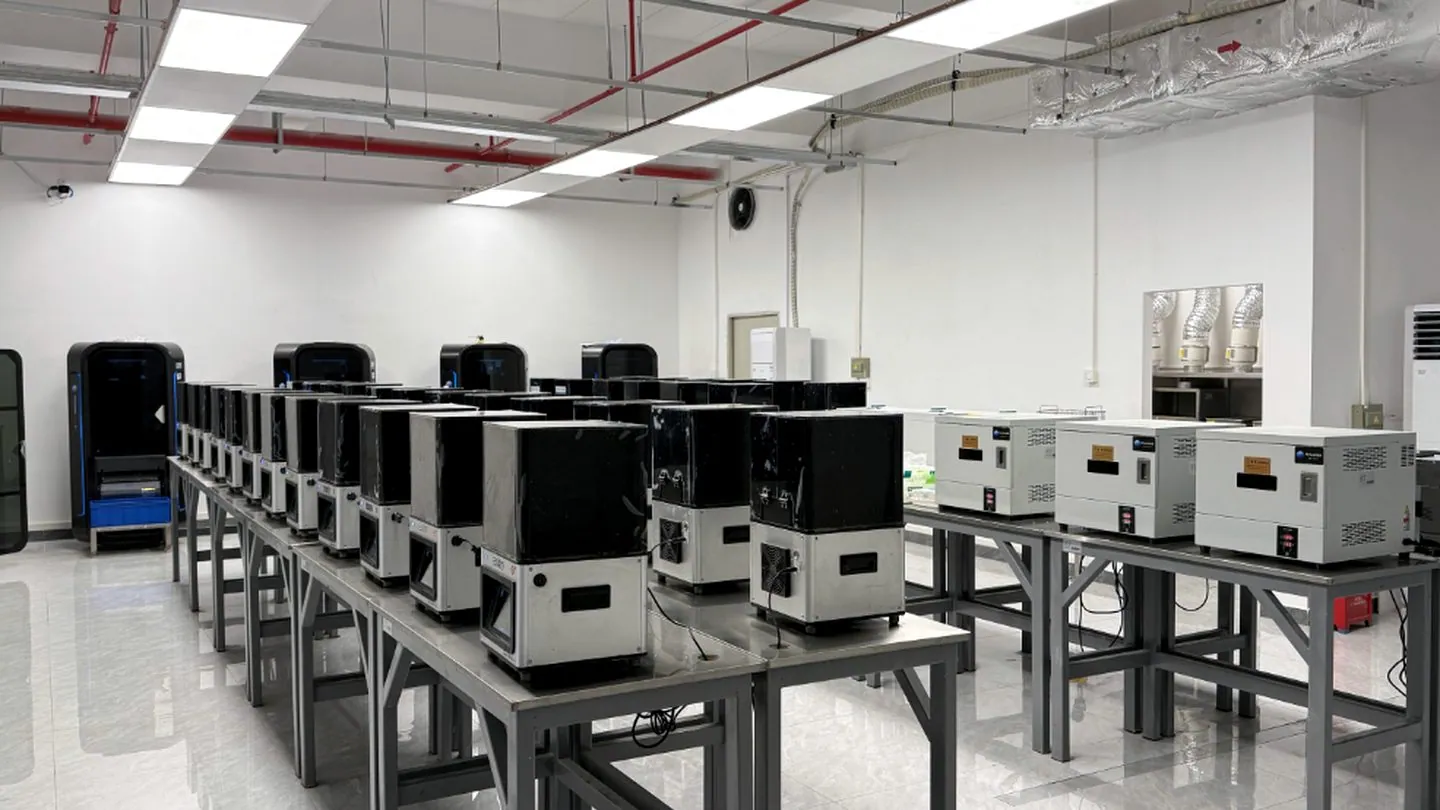
An interim restoration has to do several jobs at once: protect a fresh preparation, hold the occlusal relationship, and give the clinician and the patient something to review before the definitive work is committed. Temporary crown and bridge materials decide how well a unit does each of those jobs, and the temporary crowns and bridges service covers the same workflow from a laboratory perspective. This guide compares the three routes a laboratory commonly produces, how each one behaves, and the records each route needs.
What an interim restoration has to do
Interim coverage is not a throwaway step. A well-made interim unit keeps the preparation sealed, holds the contacts and the occlusion so the definitive crown seats without a surprise, and lets the shape and shade be reviewed while a change is still straightforward. A weak interim unit can drift, fracture or irritate the gingiva, and it can consume more chair time than it saves. Treating the interim stage as real production, with a stated material and a stated service life, is what keeps a staged case predictable.
The three routes at a glance
Laboratories produce interim units in three ways: milled from a solid disc, printed in layers from a design file, or built in acrylic over a physical model. The routes differ in how the unit gets its shape, how dense the finished material is, and how much of the case has to arrive digitally. No single route suits every case; each one trades service life, speed and adjustability against the others.
Milled PMMA
Milled PMMA is cut from a solid disc using a digital design, so it inherits a consistent machined fit and a smooth, dense surface. It suits single units and multi-unit bridges where a predictable seat and a stable occlusion matter, and it can be produced with reinforcement where the span calls for it. The trade-off is that milling needs a complete digital design, so the case should arrive as a scan or a design file. Milled PMMA is often chosen where the interim unit will be in service for a longer staged treatment.
Printed resin
Printed resin is built up in layers from a digital design, which makes it a fast route when the design already exists and the unit is needed quickly. It handles complex shapes and full-arch provisionals well, and the surface can be finished to a smooth polish. Because the process is additive, the result depends on the print resolution and the finishing, and the material behaves differently from a milled unit under occlusal load. Printed resin suits cases where speed and geometric complexity matter more than the longest service life.
Acrylic from a model
Acrylic resin produced over a physical model is the traditional route, and it remains useful where the case arrives as an impression rather than a scan, or where a simple single-unit shell is all that is needed. It is straightforward to adjust and repair, which helps when the interim unit has to be trimmed at the chair. Its fit follows the model, so the impression quality sets the result, and its surface is generally softer than a milled or printed unit.
Matching the route to the case
The choice usually follows how long the interim unit will be in service and how it will be made. Where the case is digital and the unit must survive a staged treatment, a milled PMMA unit is often the natural fit. Where the case is digital and speed is the priority, printing is quick. Where the case arrives as an impression or needs frequent chairside adjustment, acrylic remains practical. Matching the material to the service life and to the records on hand avoids both an under-built interim unit and a route that cannot be produced from what was submitted.
Records each route needs
Whichever route is used, the records still have to be complete. A digital route needs a scan with clear margins, an opposing arch and a bite registration; the digital workflow page sets out how those files move through a case. A model-based route needs an impression with readable margins and a bite record. In every case, the tooth numbers, the target shade and any reinforcement request should be stated on the prescription, because the interim unit is built to the plan rather than to an assumption. Sending the intended definitive material as well helps the interim shade approximate the final result.
Fit, occlusion and shade
An interim restoration is often the first place a clinician checks that the plan works. If the occlusion is unstable or the contacts are open on the interim, the same problem will usually reappear on the definitive crown, so the interim becomes a rehearsal for the finished unit. Shade deserves the same attention: a provisional made without a stated target shade tells the patient nothing about the final appearance, and it gives the technician no reference when the crown and bridge work is designed. Confirming the zirconia crown shade at the interim stage, for example, keeps the definitive unit consistent with what the patient has already seen.
Reinforcement and long spans
A multi-unit interim bridge carries load across the span, so a thin unsupported section can fail early even when the material itself is sound. Reinforcement — a cast or milled frame, or a thicker connector — is usually requested where the span is long or the patient loads heavily. Stating that requirement on the prescription lets the laboratory plan the production route before the case is started rather than patching a unit that was never designed for the load.
Common mistakes to avoid
The usual problems are a bite record that does not reflect the occlusion the definitive work will restore, a shade that was never specified, and a margin that reads poorly in the record. A unit that is not trimmed to the tissue can irritate the gingiva, and an interim that is left in service beyond its intended life will show the limits of its material. Naming the intended definitive material, the expected service life and any reinforcement need on the prescription prevents most of these issues.
Next step
Send the scan or impression together with the tooth numbers, the bite record, the target shade and the intended definitive material, and confirm the expected service life of the interim unit. The laboratory can then recommend a route and confirm what it needs before production starts. Send a case to begin.